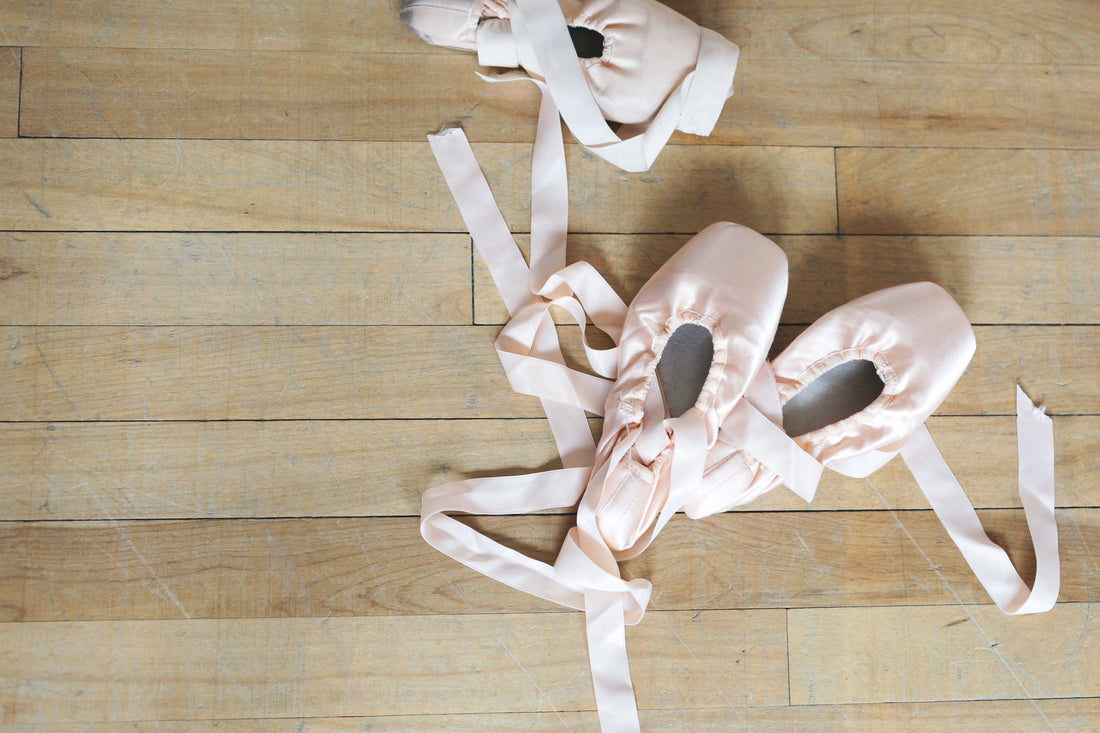
Sewing ribbons onto your pointe shoes is an essential step in preparing for ballet. Properly sewn ribbons help provide support and stability to your feet while dancing on pointe. Here's a step-by-step guide on how to sew ribbons onto your pointe shoes:
Materials you'll need:
- Pointe shoes
- Ribbon (usually satin ribbon, about 7/8 to 1-inch wide) or elastic ribbon
- Sewing needle
- Matching thread (usually a color that matches the shoes or ribbons)
- Scissors
- Lighter (optional, for sealing ribbon ends)
- Russian Pointe sewing kit (all-in-one solution)

Instructions:
1. Prepare the ribbons:
Cut two pieces of ribbon, each about 2.5 to 3 feet long. The length may vary depending on your preference and the size of your ankles. You can always trim them later if they are too long.
2. Find the right placement:
Put on your pointe shoes and stand in front of a mirror. Cross the ribbons over your ankle to find the best placement for them. Typically, the ribbons should start just above your arch and cross over the Achilles tendon area, coming around to the front of the ankle.
3. Pin the ribbons:
Use a few pins to temporarily secure the ribbons in the desired position. Ensure they are flat and not twisted.
4. Thread the needle:
Thread your needle with a length of matching thread. Double the thread for added strength, and tie a knot at the end.
5. Start sewing:
Begin sewing the ribbons to your pointe shoe by making small, discreet stitches along the inside seam of the shoe, near the drawstring casing. Start at the back of the shoe, where the heel meets the sole.
Pass the needle and thread through the ribbon, then through the shoe fabric. Pull the thread tight but not too tight to avoid puckering the shoe fabric.
Continue stitching in a straight line, working your way up toward the ankle. Make sure the stitches are secure.
6. Repeat for the other ribbon:
Repeat the sewing process for the second ribbon on the other shoe, ensuring they are symmetrical in placement.
7. Secure the ends:
Once you reach the desired height for the ribbons, knot the thread securely on the inside of the shoe. Trim any excess thread.
8. Trim the ribbons:
Trim the ribbons to your preferred length, ensuring they are even and neatly cut.
9. Tuck in the ends:
If you've used satin ribbons, you can use a small amount of clear nail polish or fabric glue to secure the ends and prevent fraying.
10. Test for comfort:
Put on your pointe shoes with the newly sewn ribbons and ensure they feel secure and comfortable. Adjust the tightness as needed.
Remember that the precise placement of ribbons can vary slightly depending on personal preference and the shape of your foot and ankle. Be patient and take your time to sew the ribbons neatly and securely to ensure they provide the necessary support during your ballet performances.

